Think of this guide as your companion to effortlessly grasp the interface’s workings, allowing you to unlock the app’s full potential and reap the maximum benefits it offers. Whether you’re a newcomer or an experienced user, these insights will empower you to navigate and utilize the app with confidence.
Step 1: Install our app
Visit the Shopify App Store through this link to easily incorporate our app into your Shopify store: https://apps.shopify.com/rocketpush.
Step 2: Choose language
Our app is available in English, Dutch, and Chinese. Feel free to select the language that suits your preference. Go ahead and choose the one that’s most comfortable for you!

Step 3: Upload Logo
When uploading your brand’s logo, ensure that the image is in either .jpg, .jpeg, or .png format. Additionally, please make sure that the image size is below 500kb.

Step 4: Activate notifications
Moving forward, you have the option to activate notifications on your Shopify store. Simply continue with the process.
Step 5: Enable App extension
One of the crucial steps is to enable the App extension’s embedded block within your Shopify theme. This action is pivotal, as the push notifications won’t function until this extension is enabled.
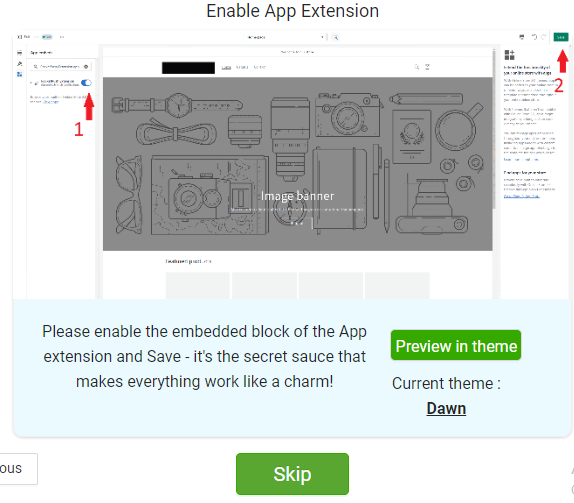
To activate the app extension, simply click on the “Preview in Theme” option.
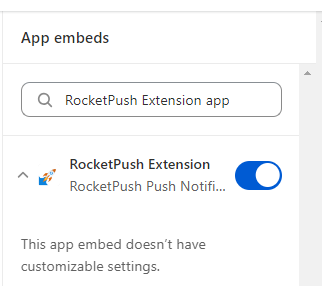
Search for the RocketPush Extension within your settings, then proceed to enable it. After enabling the extension, be sure to save the changes you’ve made. This will allow you to continue your progress with the setup.
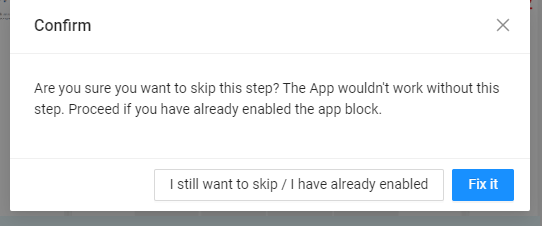
If you choose to bypass this particular step, you will be prompted once more to confirm whether you’ve successfully activated the APP block.
Step 6: Select the plan
Now you can make a decision about the plan that fits your requirements. Take a moment to carefully evaluate the available choices, ensuring you select the one that aligns perfectly with your goals and aspirations for your store’s growth. Your choice will set the direction for your next steps in this process.
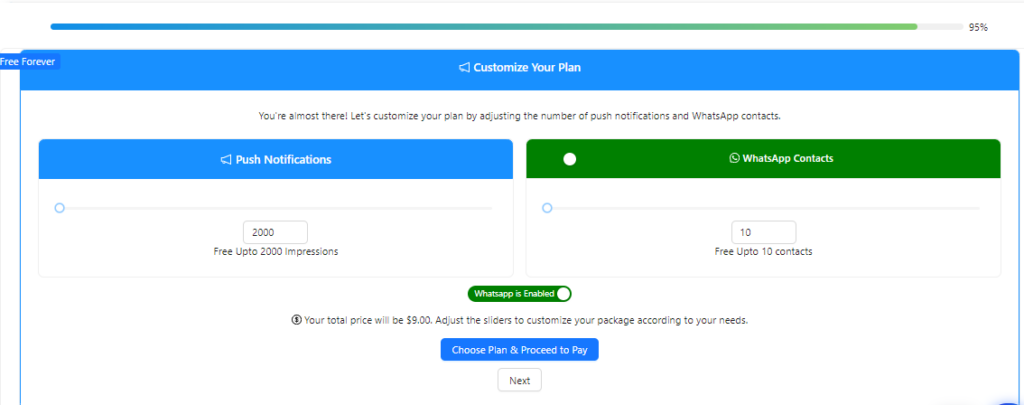
We recommend the Premium Plan , it allows to send WhatsApp Campaigns.
Step 7: App tour
Begin using our App now, and you’ll be taken on a guided tour of the interface. Simply continue clicking “Next” as you progress through the tour.
Step 8: Configure the subscribers prompt
Customize the subscriber prompt according to your specific preferences and needs.

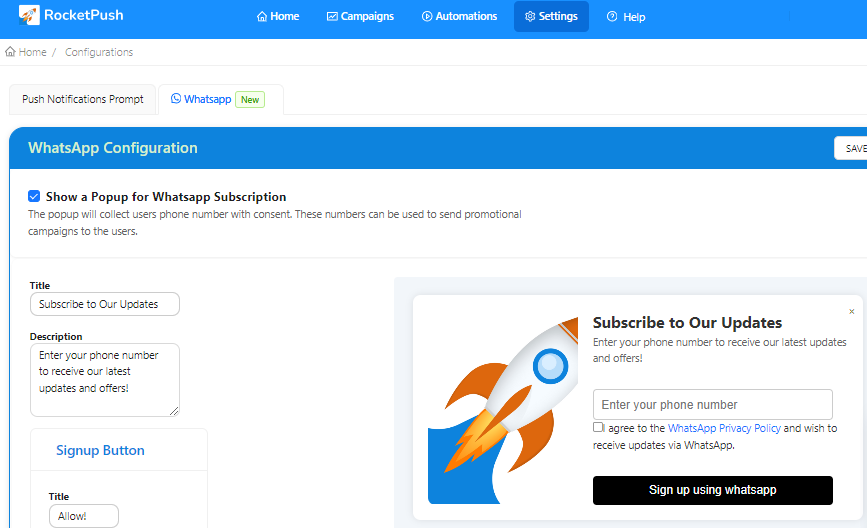
Step 9: Set up the WhatsApp Optin Prompt.
You can customize this prompt as per your store requirements.
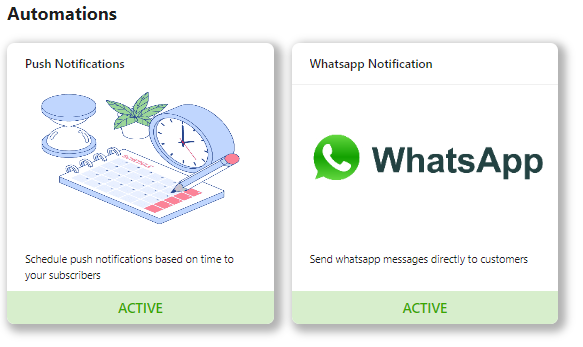
Step10: Configure the Campaigns
Here you can shedule Web Push as well a WhatsApp Camapaign
To get started with WhatsApp Campaign refer this step by step guide .
Step 11:Create all the Web Push notification
We cater different types of Web Push notification to suit your needs.
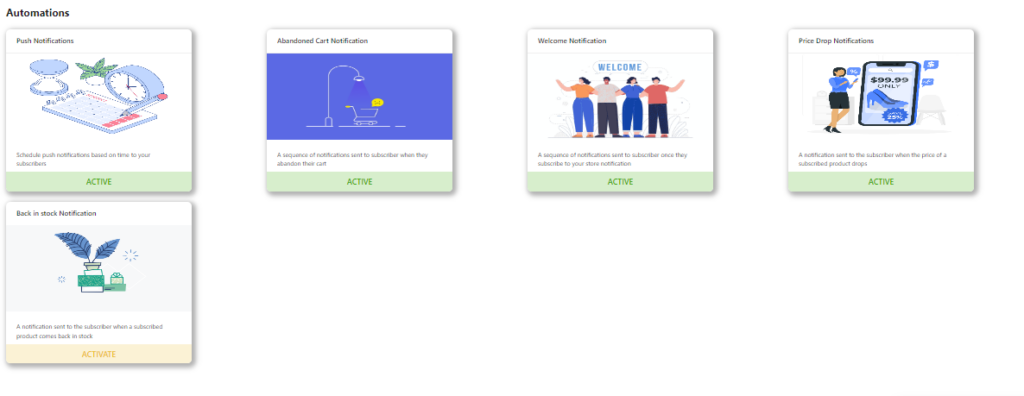
Great time to start creating some notification. You can customize these with eye catching Creatives and taglines to get more and more clicks.
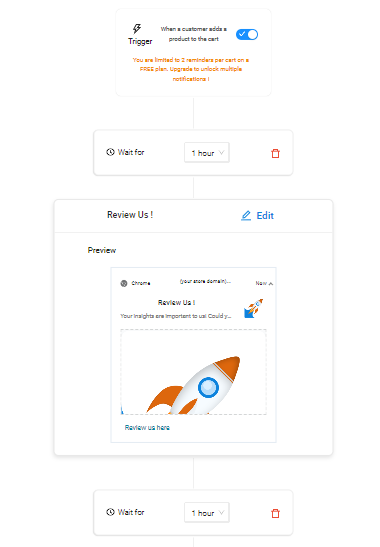
As you begin editing these notifications, you’ll have the ability to preview how they’ll appear on users’ devices in real-time. Additionally, you can test the notifications before sending them out.
By simply following these steps, you’re on the right track to reconnect with those visitors and effectively convert them into loyal buyers.
If you find yourself stuck at any point, remember that we’re here to assist. Just use the chat option in our app or drop us an email at [email protected]. We’re eager to lend a hand and ensure your experience is smooth and successful!